
How to Use Seedance 2.0: Step-by-Step Tutorial for Beginners (2026)

A month ago, I burned through hundreds of credits trying to make a simple 5-second AI video. The character's face completely distorted by second three. The camera movement felt like a drunk cameraman. The motion was stiff and robotic. I almost gave up on AI video entirely.
Sound familiar? You scroll through Twitter and TikTok watching other creators go viral with silky-smooth, cinematic AI videos. Meanwhile, you're stuck — either locked out because you don't have a Chinese phone number, or staring at a blank prompt box with no idea what to type.
This tutorial fixes that. I'm going to walk you through exactly how to use Seedance 2.0 on Tryonr — from opening the page to downloading your finished video. Every step includes real settings, real credit costs, prompt examples, and troubleshooting based on actual user data. No VPN needed, no Chinese ID required.
By the end of this guide, you'll know exactly how to use Seedance 2.0 to create cinematic AI videos that actually look good.
What Is Seedance 2.0?
Seedance 2.0 is ByteDance's most advanced AI video generator, released in early 2026. It's not just another text-to-video tool — it's a complete AI production system that understands text, images, video references, and audio simultaneously.
Here's what makes it different from everything else on the market:
| Feature | Details |
|---|---|
| Multimodal Input | Up to 12 files simultaneously (9 images + 3 videos + 3 audio) |
| Native Audio | Auto-generates sound effects, music, and multilingual lip-sync |
| @ Reference Syntax | Lock character appearance with @Image1 tags |
| Resolution | Up to 1080p on Standard text-to-video; 480p / 720p on Fast and image / reference routes |
| Duration | 4-15 seconds per generation |
| Aspect Ratios | 21:9, 16:9, 4:3, 1:1, 3:4, 9:16 |
For a deep dive into the technology and capabilities, read our complete Seedance 2.0 review. For how it stacks up against competitors, see our Seedance vs Sora vs Kling comparison.
Now let's get into the actual hands-on tutorial.
How to Use Seedance 2.0 — Text to Video Tutorial
Step 1: Open Tryonr's Seedance 2.0 Tool
Go to tryonr.com/seedance-2. That's it. No VPN, no app downloads, no Chinese phone number.
If you don't have an account yet, click "Generate AI Video" and a signup dialog will appear. Sign up with Google or GitHub in one click — you'll receive free credits immediately to start generating.
The interface has three main areas:
- Left panel: Prompt input, reference uploads, and all generation settings
- Right panel: Video preview and generation history
- Bottom: Credit cost indicator showing exactly how much your current configuration will cost
Step 2: Write Your Prompt
The prompt is the single biggest factor in your video quality. Here's a proven formula that works every time:
Subject + Action + Setting + Style + Camera
Let me show you three levels, from beginner to advanced:
Beginner (one sentence):
A golden retriever runs through a sunlit meadow, slow motion, camera follows smoothly
Intermediate (add style and lighting):
A golden retriever runs through a sunlit meadow at golden hour. Cinematic film grain, warm tones, shallow depth of field. Slow tracking shot from the side.
Advanced (CRAFT framework):
Context: Pastoral countryside, late afternoon golden light. Action: A golden retriever leaps joyfully through tall wildflowers, ears flapping. Framing: Side tracking shot that slowly pushes in to a close-up of the dog's face. Tone: Warm, nostalgic, 35mm film stock aesthetic, gentle lens flare.
All three will produce a video. But the advanced version gives you dramatically more control over the result.
Common prompt mistakes to avoid:
| ❌ Mistake | ✅ Fix |
|---|---|
| "A nice video of nature" | Add specific subject, action, lighting, camera |
| "Fast-paced slow motion" | Pick one pace — contradictions confuse the model |
| 200+ word prompts | Keep to 50-80 words. Quality over quantity |
| No camera direction | Always specify: tracking shot, push-in, pan, drone, etc. |
Want more inspiration? Check our 30 ready-to-use Seedance 2.0 prompt templates.
Step 3: Choose Mini, Fast, or Standard Settings
Here's what each setting does and what I recommend for beginners:
Duration — Start with 4 seconds for testing. It is the cheapest way to check motion, camera movement, and prompt direction before spending more credits. Use 5s for normal drafts, 8-15s for serious work.
Resolution:
- 480p — Cheapest testing resolution. Mini costs 9 credits/second; Fast and Standard cost 23 credits/second.
- 720p — Best default for final social/video drafts. Mini costs 18 credits/second; Fast and Standard cost 49 credits/second.
- 1080p — Premium option, currently available only on Standard text-to-video at 111 credits/second.
Aspect Ratio:
- 16:9 — Standard for YouTube, cinematic content
- 9:16 — TikTok, Instagram Reels, YouTube Shorts
- 1:1 — Instagram feed, social media posts
- 21:9 — Ultra-wide cinematic look
Generation Mode:
- Mini — Lowest credit cost. Use it first if you are learning how to prompt Seedance 2.0 or testing several ideas.
- Fast — Quicker 480p / 720p draft mode. Use it when you want a faster preview but do not need 1080p.
- Standard — Best quality and the only mode with 1080p text-to-video. Use it for final videos.
Note: 1080p is currently tied to Standard + text-only generation. If you've already selected 1080p and then switch to Fast — or add an image, video, or audio reference — the tool automatically falls back to 720p. No error, no extra credits charged, just a resolution change.
Batch Size — Keep at 1 as a beginner. Once you're comfortable, try 2-4 to compare variations.
Here's the credit cost for every beginner-relevant configuration — something most Seedance 2.0 tutorials skip:
| Mode / Resolution | Per Second | 4s | 5s | 8s | 10s | 15s |
|---|---|---|---|---|---|---|
| Mini 480p | 9 | 36 | 45 | 72 | 90 | 135 |
| Mini 720p | 18 | 72 | 90 | 144 | 180 | 270 |
| Fast / Standard 480p | 23 | 92 | 115 | 184 | 230 | 345 |
| Fast / Standard 720p | 49 | 196 | 245 | 392 | 490 | 735 |
| Standard 1080p * | 111 | 444 | 555 | 888 | 1110 | 1665 |
* 1080p is currently available only on Standard text-to-video. Treat it as a premium option for hero text-only shots where quality matters most — not as the default.
Pro tip: Always test your first idea with Mini / 480p / 4s first (only 36 credits). If the motion direction is right, try Mini / 720p or Fast / 480p for another draft. Re-render at 720p / Standard only after the prompt works. Step up to 1080p / Standard only for premium text-to-video hero shots where the extra resolution is worth the credit cost.
Step 4: Generate & Download
Click "Generate AI Video" and wait. Here are realistic expectations — not the "30-90 seconds" you'll read elsewhere:
- Fast mode: 2-5 minutes
- Standard mode: 5-10 minutes
You can safely close the page while it generates. The task runs in the background on Tryonr's servers. Come back anytime and find your video in the History section.
If generation fails, your credits are automatically refunded — usually within a few minutes. You can verify in your credit transaction history.
Seedance 2.0 Mini vs Fast vs Standard: Which Mode Should Beginners Use?
If you are new to Seedance 2.0, do not start with the most expensive setting. The best beginner workflow is:
| Goal | Best Mode | Why |
|---|---|---|
| Test a rough idea | Mini 480p / 4s | Cheapest way to see if the prompt, subject, and camera motion work |
| Check a vertical social clip | Mini 720p / 5s | Low-cost 9:16 preview with better detail than 480p |
| Preview faster with regular quality | Fast 480p / 5s | Good when you want a quicker draft before a final render |
| Make a final reusable clip | Standard 720p / 5-8s | Better motion consistency and quality for publishing |
| Create a premium text-only hero shot | Standard 1080p | Highest quality, but only worth it after the prompt is already proven |
In short: Mini is for learning, Fast is for drafting, Standard is for publishing. This keeps your credit cost low while you figure out how to use Seedance 2.0 well.
How to Use Seedance 2.0 — Image to Video
Image-to-video is where Seedance 2.0 really shines. You upload a still image and the AI brings it to life with motion.
Step 1: Switch to "Image to Video" Tab
At the top of the Seedance 2.0 tool on Tryonr, click the "Image to Video" tab.
Step 2: Upload Your Image
Click "Add Images" and upload your source image. For best results:
- Use high-resolution images (at least 1080p)
- Choose images with a clear, well-defined subject
- Simple backgrounds work better than cluttered scenes
- JPG, PNG, and WebP are all supported
Step 3: Write a Motion Prompt
This is where most beginners make a critical mistake. Your image already defines what the scene looks like. Your prompt should describe how it moves — not repeat what's in the image.
❌ Wrong approach:
A woman in a red dress standing on a rainy street at night
(The image already shows this. You're wasting prompt space.)
✅ Right approach:
She turns her head slowly and smiles. A gentle breeze moves her hair. Raindrops create ripples in the puddles around her feet. Camera slowly pushes in from medium shot to close-up.
Tell the AI what should happen, not what things look like.
Step 4: Generate
For testing image-to-video, use the cheapest configuration:
- Mini / 480p / 4 seconds = 36 credits
This gives you enough to see if the motion looks right before committing to a full-quality render.
5 Seedance 2.0 Video Examples You Can Copy
Each example includes a ready-to-paste prompt, recommended settings, and exact credit cost.
1. Anime Fight Scene ⚔️
Prompt:
Two anime warriors clash swords in a moonlit bamboo forest. Cherry blossom petals scatter on each impact. Dynamic tracking shot follows the action, dramatic slow-motion on the final strike. Cel-shaded anime style with vibrant colors, rim lighting on characters.
Settings: Standard / 720p / 8s / 16:9 Cost: 392 credits
2. Cinematic Landscape 🌅
Prompt:
Aerial drone shot flying slowly over misty mountains at sunrise. Golden hour volumetric light rays pierce through the clouds. River reflects the orange sky below. Epic cinematic style, smooth forward camera movement, subtle film grain.
Settings: Standard / 720p / 5s / 21:9 Cost: 245 credits
3. Product Showcase 📱
Prompt:
A sleek smartphone rotates slowly on a reflective black surface. Soft studio lighting creates clean highlights along the metallic edges. Camera orbits smoothly around the product. Premium product photography aesthetic, shallow depth of field, dark gradient background.
Settings: Fast / 480p / 6s / 16:9 Cost: 138 credits
4. TikTok / Reels Short 📱
Prompt:
Close-up of golden honey being drizzled over a stack of fluffy pancakes. Steam rises gently. Warm morning light from a side window. Cozy kitchen aesthetic, slow motion, soft focus background with bokeh.
Settings: Mini / 480p / 4s / 9:16 Cost: 36 credits (cheapest possible)
5. Image-to-Video Character Animation 🎭
Upload: A character portrait photo
Prompt:
The character looks directly at camera and gives a confident smile. Wind gently tousles their hair. They tilt their head slightly. Subtle camera push-in, cinematic warm lighting, shallow depth of field.
Settings: Standard / 720p / 5s / 16:9 Cost: 245 credits
6 Real Seedance 2.0 Workflows Beginners Can Copy
The examples above are single prompts. These six are full workflows — the way creators actually use Seedance 2.0, from a starting idea (or one image) to a finished clip. Each lists what it's for, the beginner steps, one safe copy-paste prompt, and a link that opens the tool with the prompt already filled in. (The link only prefills text — you still upload your own image where a workflow needs one.)

Reference clip from the collected X tutorial set
Use the clips below as visual references. The prompts are rewritten safely for ordinary Tryonr users.
Product Ad From One Product Image
What it's for: Turning a single product photo — a bottle, a gadget, a pair of shoes — into a short rotating "hero" clip for ads, a store page, or a Reel.
Beginner steps:
- Open the Seedance 2.0 tool and switch to the Image to Video tab.
- Upload one clean product photo on a simple background.
- Paste the motion prompt below. Describe how the product moves and is lit, not what it is.
- Test at Mini / 480p / 4s (36 credits) to check the motion, then re-render at 720p / Standard once it looks right.
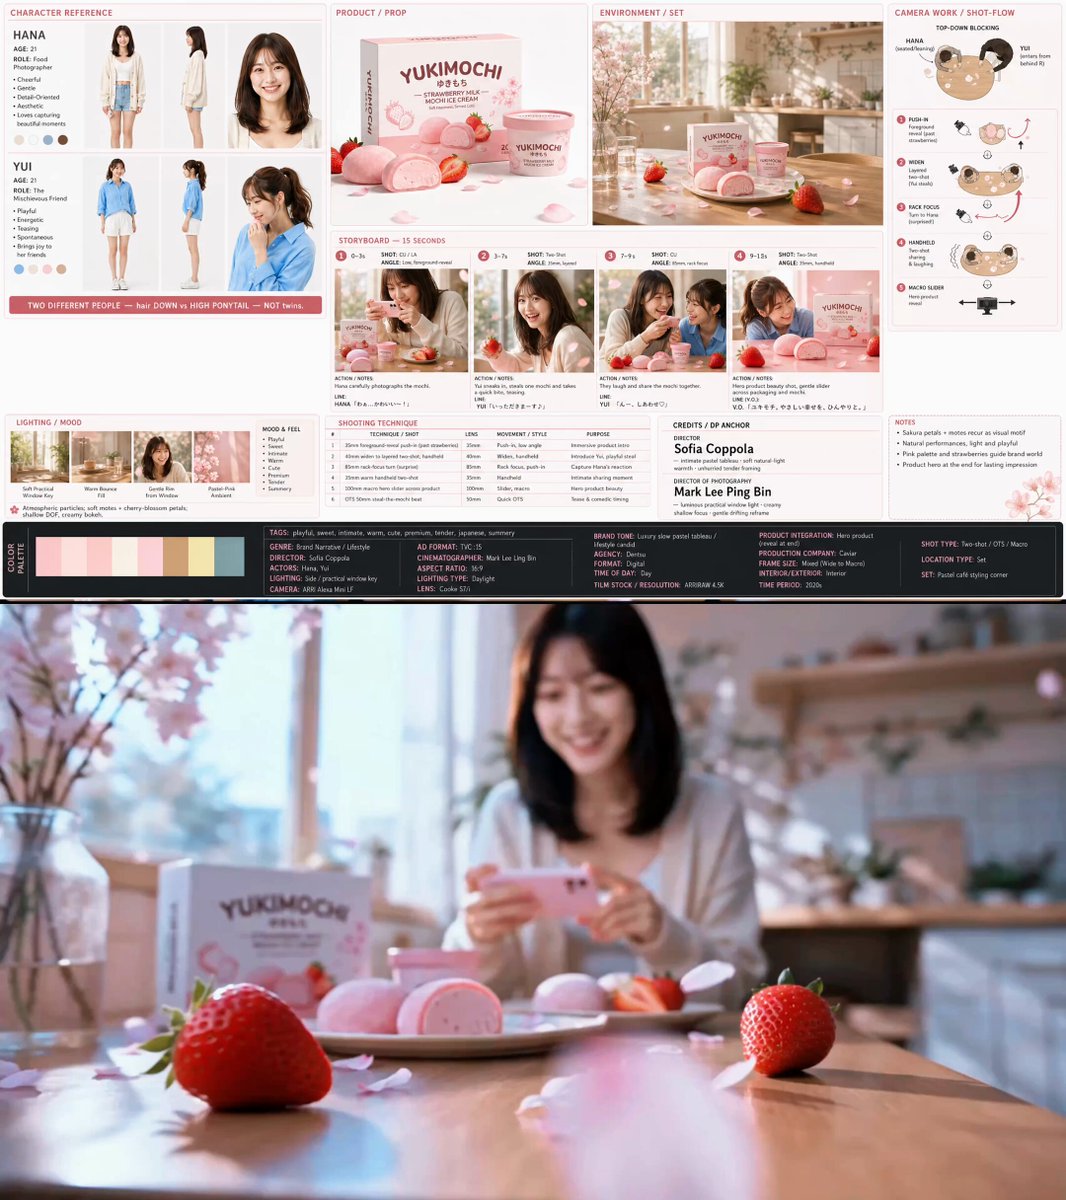
Reference: product ad workflow
Source on XCopy-paste prompt
The product rotates slowly on a reflective surface. Soft studio light sweeps across its edges, creating clean specular highlights. Camera orbits smoothly from a low angle, shallow depth of field, premium commercial look, dark gradient background.
Try this product-ad prompt in Seedance 2.0 →One-Prompt Cinematic Scene
What it's for: A single text prompt that produces a film-grade establishing shot — no image, no references, just words. Great for B-roll, intros, and mood clips.
Beginner steps:
- Stay on the Text to Video tab.
- Paste the prompt below. Notice it follows the formula: Subject + Action + Setting + Lighting + Camera.
- Generate at Mini / 480p / 4s first. If the camera move and mood are right, re-render at Standard / 720p / 5s.
- Only step up to 1080p / Standard for a final hero shot worth the extra credits.
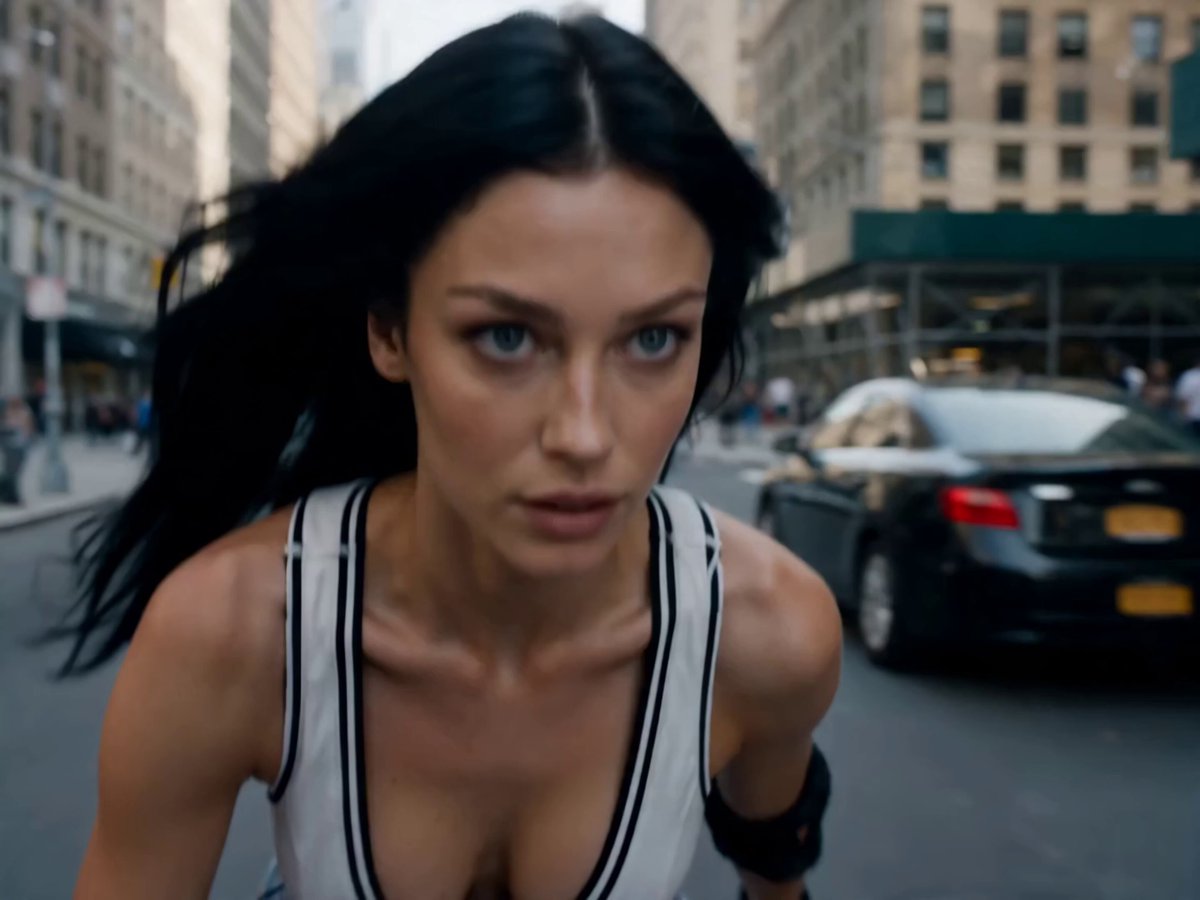
Reference: one prompt cinematic motion
Source on XCopy-paste prompt
A lone traveler walks along a misty mountain ridge at sunrise. Volumetric light breaks through the clouds behind them. Slow cinematic tracking shot from the side, warm golden tones, subtle film grain, epic and quiet.
Try this cinematic prompt in Seedance 2.0 →GPT Image 2 Still → Seedance Motion
What it's for: Generate a crisp still in an image model like GPT Image 2, then let Seedance 2.0 animate it. You get the framing control of a still image plus real motion.
Beginner steps:
- Create your still first — a stylized or illustrated character or scene works best (avoid real-person likenesses, which Seedance rejects).
- In the Seedance 2.0 tool, switch to Image to Video and upload that still.
- Paste the motion prompt below. Describe only what changes — the image already defines the look.
- Test at Mini / 480p / 4s, then finalize at 720p / Standard.
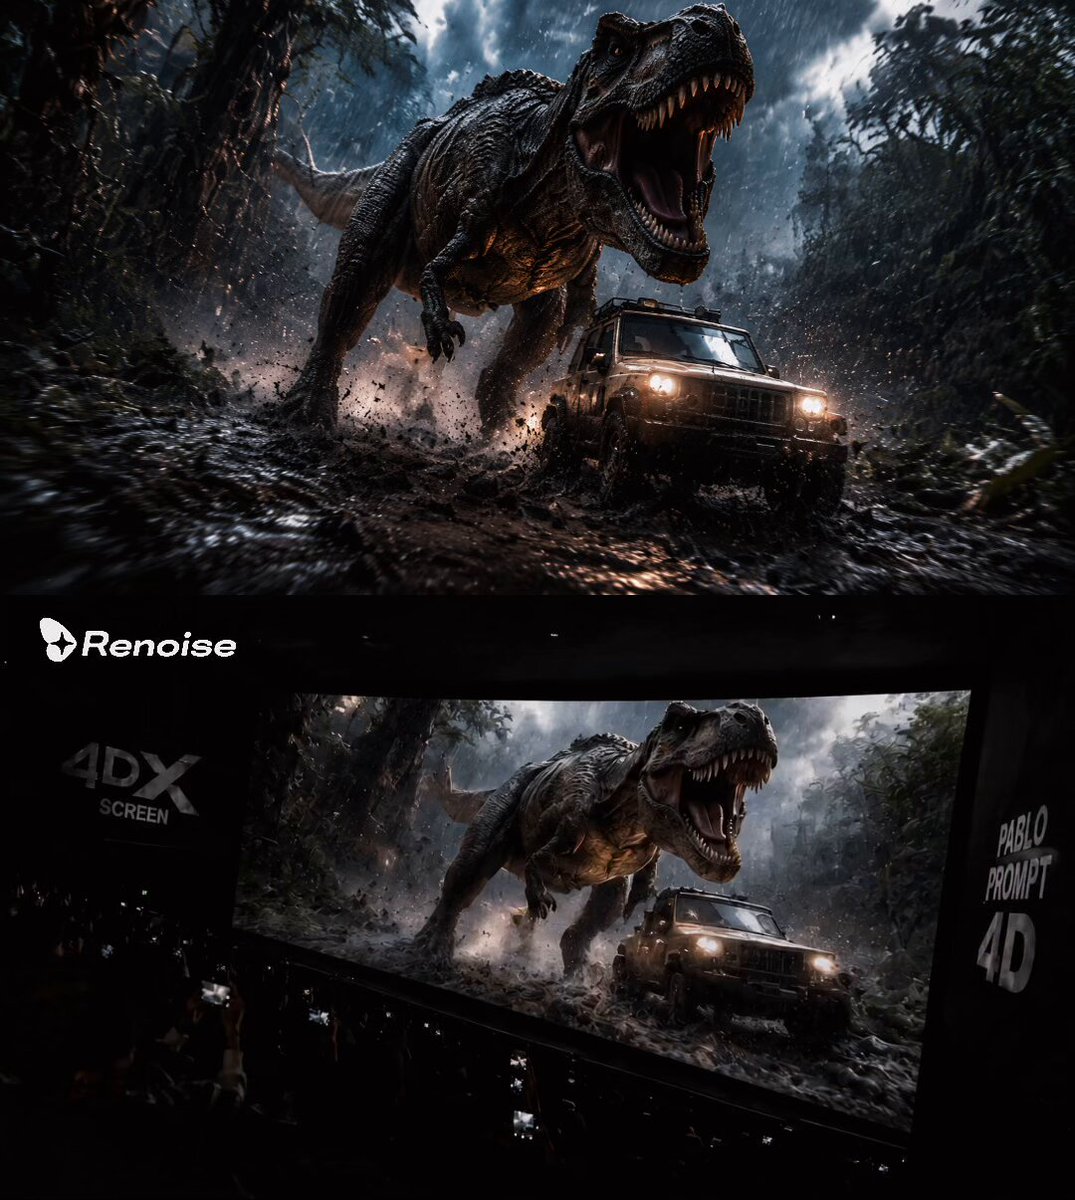
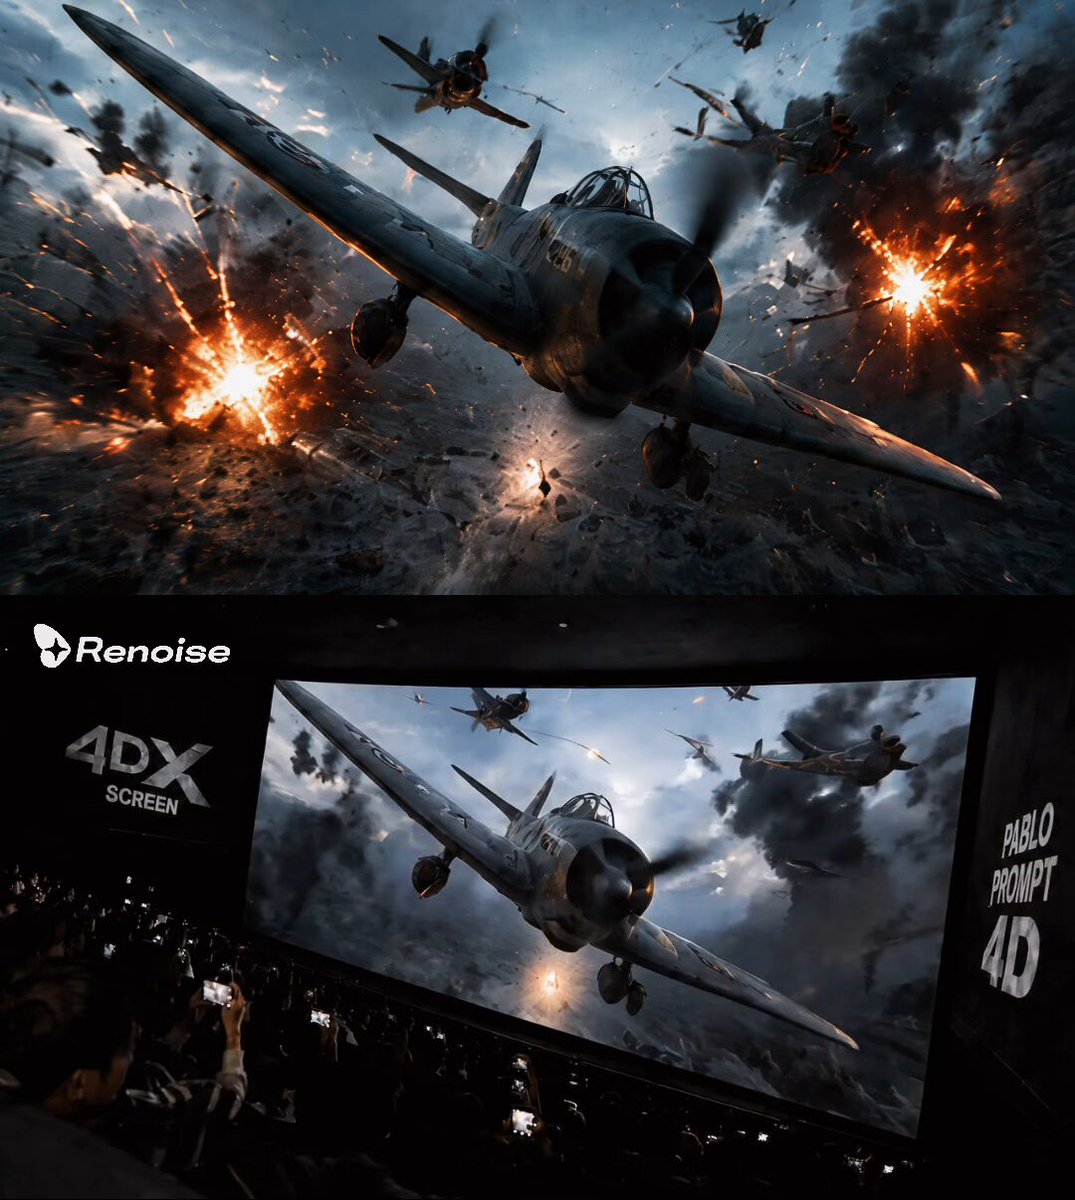
Reference: GPT Image 2 still to Seedance motion
Source on XCopy-paste prompt
The character slowly turns toward the camera and gives a calm, confident nod. A gentle breeze moves their hair and scarf. Soft rim light shifts across the scene. Camera pushes in from medium shot to close-up, cinematic shallow depth of field.
Try this still-to-motion prompt in Seedance 2.0 →Keep a Character Consistent Without Drift
What it's for: Stopping a character's face, hair, or outfit from changing between shots. This is the single biggest frustration beginners hit. Seedance 2.0 solves it with the @Image reference syntax.
Beginner steps:
- Design one original, fictional character (illustration or 3D style — never a real person or celebrity).
- In the tool, open Reference media and upload that character image as
Image1. - In your prompt, tag it with
@Image1and explicitly tell the model to keep the face, hairstyle, and outfit identical. - Reuse the same reference image across every new shot so the character stays locked in.
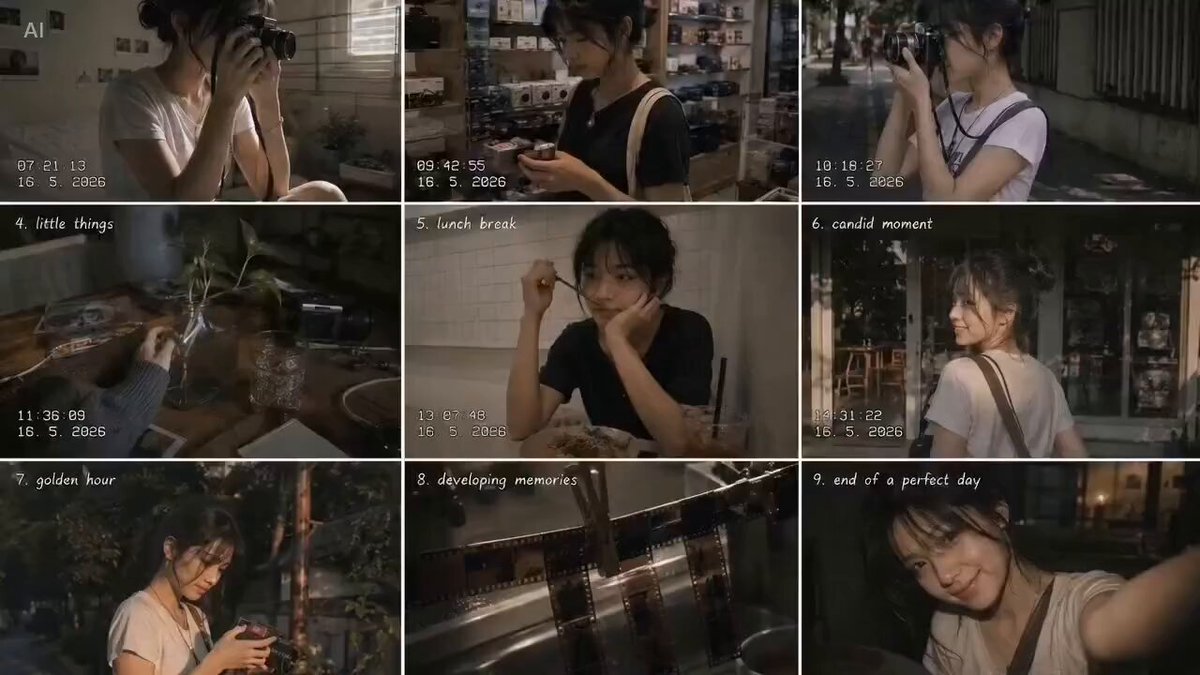
Reference: preventing face and outfit drift
Source on XCopy-paste prompt
@Image1 the same character walks through a neon-lit street at night, glancing around calmly. Keep the face, hairstyle, and outfit identical to the reference. Slow tracking shot beside them, cinematic lighting, shallow depth of field.
Try this consistency prompt in Seedance 2.0 →Clean Portrait or Lifestyle Motion (Safe Version)
What it's for: Understanding the clean portrait/lifestyle look without relying on real-person likenesses. For Tryonr, keep this workflow focused on original fictional or stylized characters so the generation does not trip moderation.
Beginner steps:
- Use a fictional character, stylized avatar, or illustrated portrait. Do not use a real person or celebrity.
- Keep the action simple: turn toward camera, smile, blink, adjust posture, or look out a window.
- Ask for the same hairstyle, outfit, and background throughout the clip.
- Test at Mini / 480p / 4s, then switch to Standard / 720p only if the identity stays stable.
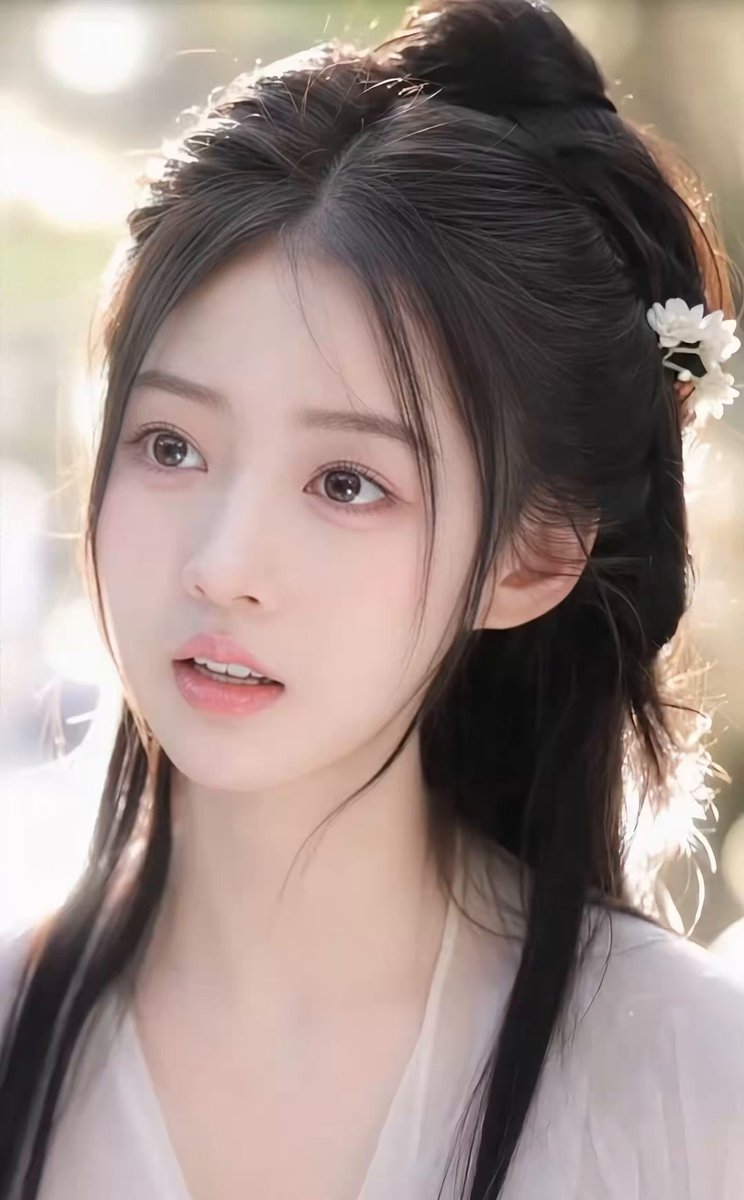
Reference: clean portrait-style motion
Source on XCopy-paste prompt
A clean stylized portrait of an original fictional character in a soft daylight cafe. The character gently turns toward the camera and smiles. Keep the same hairstyle, outfit, face shape, and background throughout the video. Soft natural light, shallow depth of field, elegant lifestyle look, no celebrity likeness, no real-person identity.
Try this portrait-safe prompt in Seedance 2.0 →Reduce the AI Look With CapCut (Optional Post-Processing)
What it's for: Softening the tell-tale "AI sheen" on a finished clip. This is optional polish, not a guaranteed fix — a good prompt matters far more — but a light color grade can help a clip blend into real footage.
Beginner steps:
- Generate a clean base clip with the prompt below at Standard / 720p / 5s.
- Download it and drop it into CapCut (or any editor with manual color controls).
- As a starting point, try these creator-shared adjustment values, then tune to taste:
- Temperature +2, Saturation −10, Brightness −3, Contrast +7, Highlights −20, Shadows +5, Grain +25
- Compare against the original before exporting — if it looks worse, dial the grain and contrast back. These numbers are a reference, not a rule.
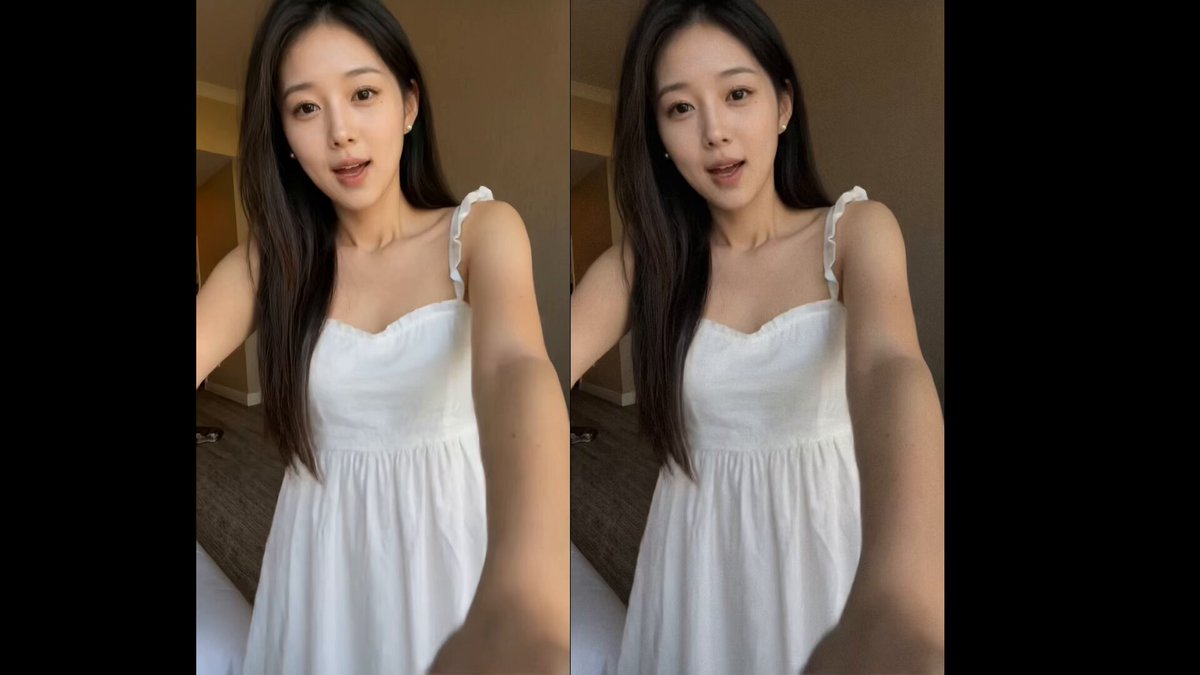
Reference: CapCut settings to reduce the AI look
Source on XCopy-paste prompt
A cup of coffee on a wooden table beside a rain-streaked window. Steam rises gently, warm interior light, the camera slowly pushes in. Cozy cinematic mood, soft natural color, subtle film grain.
Try this base-clip prompt in Seedance 2.0 →For ready-made prompt templates that match every workflow above, see the Seedance 2.0 prompt guide.
Seedance 2.0 Settings Cheat Sheet
Bookmark this table. It tells you exactly what settings to use for each scenario:
| Scenario | Mode | Resolution | Duration | Ratio | Credits |
|---|---|---|---|---|---|
| Cheapest prompt test | Mini | 480p | 4s | 16:9 | 36 |
| Low-cost social vertical | Mini | 720p | 5s | 9:16 | 90 |
| Faster draft preview | Fast | 480p | 5s | 16:9 | 115 |
| Standard quality | Standard | 720p | 5s | 16:9 | 245 |
| Cinematic widescreen | Standard | 720p | 8s | 21:9 | 392 |
| Maximum quality (image / reference inputs) | Standard | 720p | 15s | 16:9 | 735 |
| Maximum quality (text-to-video only) | Standard | 1080p | 15s | 16:9 | 1665 |
Money-saving workflow: Test with Mini/480p/4s (36 credits) → refine your prompt → preview at Mini/720p or Fast/480p → final render at 720p/Standard for most shots → optionally step up to 1080p/Standard only for premium text-to-video hero shots.
If you run out of free credits and want to keep creating, Tryonr's Starter plan at $4.99/month (billed yearly) gives you enough credits for dozens of Seedance 2.0 videos at the 720p / 5s standard config — or a mixed test-plus-final workflow on 720p. It's the cheapest way to test whether AI video works for your workflow — and you can upgrade to Pro or Team anytime if you need more. See our Seedance 2.0 pricing guide for the full breakdown.
Seedance 2.0 on Dreamina (CapCut) vs Tryonr
Many people ask about using Seedance through CapCut's Dreamina platform. Here's how they compare:
| Dreamina (CapCut) | Tryonr | |
|---|---|---|
| Seedance Version | 1.0 Mini, 1.5 | 2.0 (full) |
| Registration | Chinese phone or VPN workarounds | Global email / Google |
| Watermark | Yes | No |
| Free Credits | 120/day | Signup bonus |
| Access | Geo-restricted | Global, no VPN |
Bottom line: Dreamina gives you older Seedance versions with watermarks. Tryonr gives you Seedance 2.0, no watermark, accessible from anywhere.
For all access methods compared, read our complete access guide. For the watermark issue specifically, see how to get watermark-free Seedance videos.
Troubleshooting: Why Your Seedance 2.0 Video Failed
These solutions come from real user data — not generic advice.
"Contains Photorealistic People"
This is the #1 most common error. Seedance 2.0 refuses to generate realistic human faces.
How to fix it:
- Add "illustration style" or "anime style" to your prompt
- Don't upload real photos of people as references
- Replace "realistic person" with "cartoon character" or "3D rendered character"
- Avoid celebrity names or descriptions of real people
Video Quality Not as Expected
- Switch from Fast to Standard mode — the quality difference is significant
- Add quality keywords: "cinematic lighting, 4K quality, film grain, detailed textures"
- Be more specific in your prompt rather than adding more words
- Try a different aspect ratio — some compositions look better in 21:9
Generation Taking Too Long
- Standard mode taking 5-10 minutes is normal — don't panic
- You can safely close the page. Your task continues in the background
- Check progress in your Dashboard → History
- If a task seems stuck after 15+ minutes, try regenerating
Credits Not Refunded After Failure
- Failed tasks are automatically refunded — usually within a few minutes
- Check your credit transaction history in the Dashboard to confirm
- If credits haven't appeared after 30 minutes, contact support
The Bottom Line
Learning how to use Seedance 2.0 doesn't require a film degree or a massive budget. It requires the right workflow:
- Start cheap — Test every prompt at Mini/480p/4s (36 credits)
- Use the formula — Subject + Action + Setting + Style + Camera
- Iterate fast — Adjust one thing at a time, don't rewrite the entire prompt
- Scale up — Render at 720p/Standard once you're happy; reserve 1080p/Standard for premium text-only hero shots
Don't try to make a 15-second cinematic masterpiece tonight. Instead, pick one prompt from this guide, open Tryonr's Seedance 2.0 tool, and generate your first 5-second clip with free credits. See what happens. Tweak it. Try again. If you like the results, the Starter plan at just $4.99/month gives you plenty of room to create — upgrade to Pro or Team whenever you're ready.
Start small, but start today.


